|
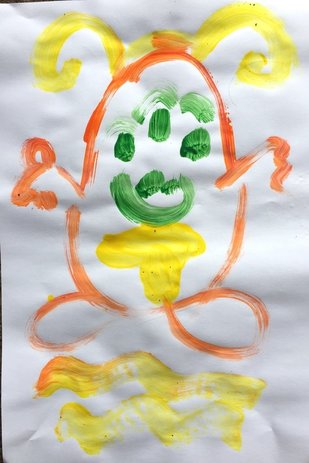
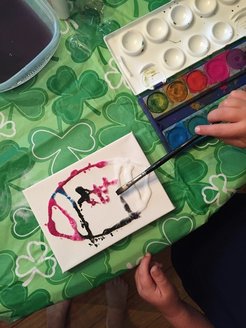
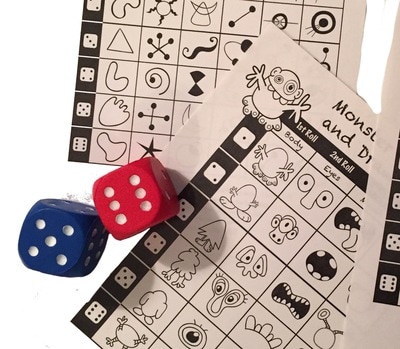
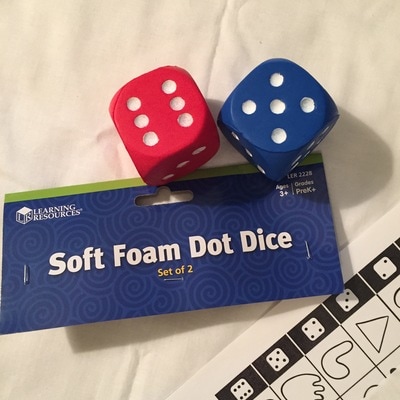
The combination of intermittant showers and storms, along with a schedule of baseball games and family activities, put the skids on my plans to introduce my young artists to the art of tie-dye. After all, this is not an ideal activity even for the back porch! Fortunately, this Mimi always has a backup plan! Here are three easy activities to chase away those rainy day blues with the elementary-age children at your house...1. Roll and Draw Games Roll and Draw games were a big hit with grades 1-3 in my elementary art classroom. I kept them in a center for students who finished our art class projects a little faster than others. Each roll of the die adds a new piece to the drawing. Once the basic form is complete, encourage your little artists to add details to the picture in order to make it uniquely their own. Many of my classroom students made entire families of Monsters using the different variations possible with the five different Monster Roll and Draw sheets! This activity is adaptable to any art materials you have on hand: crayons, markers, colored pencils, paints, and even modeling clay. You can download your own set of Roll and Draw games from Expressive Monkey. Mine are laminated since they were used repeatedly by so many children, but that isn't necessary for home use. The large foam dice are great since they don't make so much noise on the floor or table top, but regular dice are fine, too. A piece of felt or a kitchen placemat will muffle the sound equally well. 2. Air Dry ClayWhen I did this activity with my grandsons, age seven and not-quite-five, we used Crayola brand air dry clay. It's a no-mess product that comes in white, which can be painted with tempera colors once it is completely dry. I spread waxed paper on the back porch table to keep the clean up super simple. The only tools we had on hand were toothpicks, some plastic needles (from our weaving project last spring), plastic beads, feathers, and a few twisty ties from the kitchen drawer. Aiden, the older grandson, found a YouTube video demonstration to make his puppy. There are lots of those at a variety of skill levels! After that, he and his little brother used a how-to-draw book from the local library to gather inspiration for their bears and toucans. All in all, a fun way to spend a rainy afternoon. Now we just need a drop in the humidity to allow the clay to dry enough for painting! 3. Glue and Salt Painting Credit for this activity goes to mommy-blogger Jackie, who published it as Jellyfish Salt Painting. I had never gotten around to trying it out in my art classroom during the school year, so I decided to let my two grandsons, ages 7 and not-quite-five, be my activity testers. Of course, being two sports-minded little artists, our models were baseballs, footballs, and basketballs instead of sea animals! All you need for this activity is some white glue (we used Elmer's), a box of table salt, paints and brushes, and a sturdy cardboard to work on. Jackie recommended liquid watercolors, which we didn't have on hand, so we used regular pan watercolors, which worked just fine. I lucked out and was able to purchase some wrapped canvas at Michael's Crafts at a 70% discount, so we used the 6" squares and the 5x7" rectangles. Using the canvas panels was really nice because the paintings didn't curl up like they do even on heavy cardboard The steps are pretty simple: 1. Sketch the outline on the board or canvas 2. Go over the lines or fill in the space with glue. 3. Sprinkle with the salt, then tap off the excess salt. 4. Tap (don't brush) the paint onto the glue/salt mixture immediately. Don't let it dry. 5. Depending on the amount of glue, the painting may take 24-48 hours to dry completely. Go to Jellyfish Salt Painting for step by step photos and more inspiration. And above all, enjoy some crafty creativity the next time the rainy day blues strike at your house! I'd love to see your crafty creations! Use #creativity_crusader on Instagram to share.Comments are closed.
|


