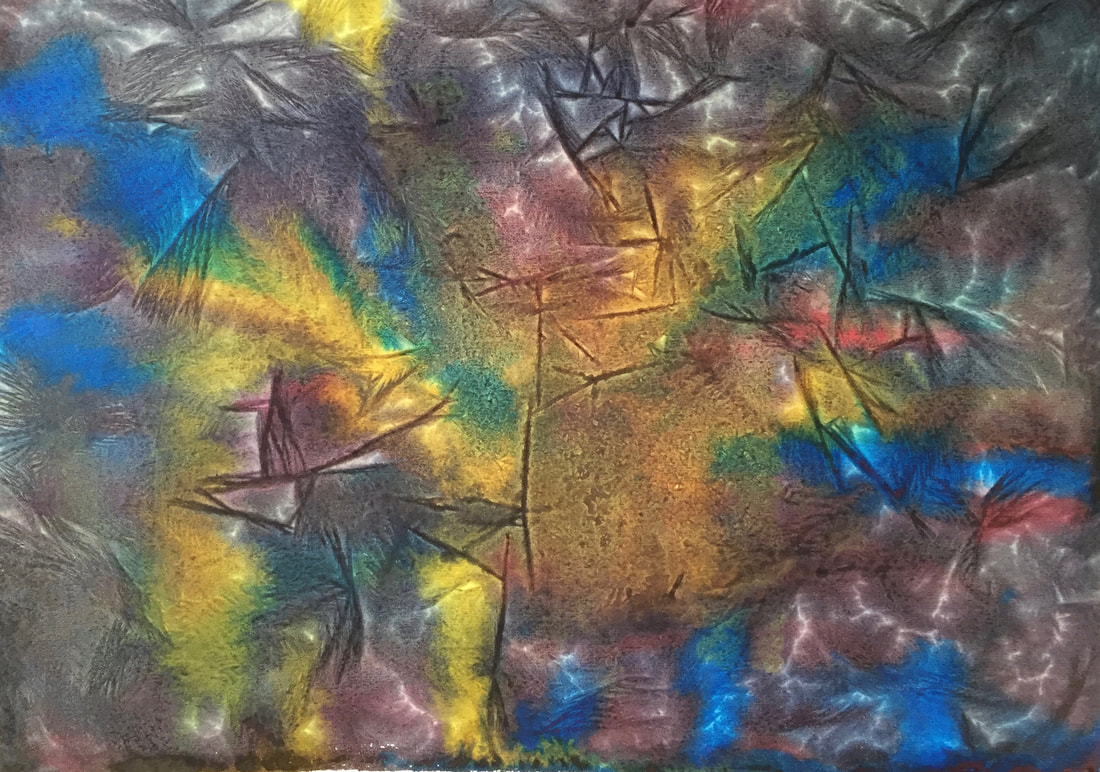
 We've been in the deep freeze here in Ohio the past few days. Temperatures have dipped into the single digits with well below zero wind chills from time to time. So I decided to make the best of the weather and use the cold snap to artistic advantage. One of the women in my Thursday watercolor class had told us about what she called "ice painting". Her samples looked quite intriguing, with crystal shapes and lovely blended colors, so I decided to give it a try. The results were mixed, depending on variables like paper, amount of watercolor paint, and temperature, but it was a lot of fun and a great way to spend some time outside in wintery sunshine! 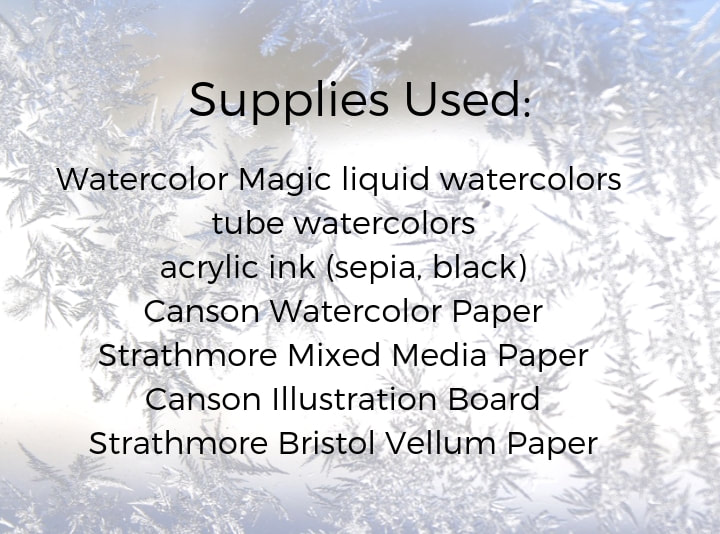 If you happen to live in a wintery part of the world, try this out yourself. This is also a perfect activity to share with kids of all ages. Just watching the crystals form in the paint in fascinating! Post a photo on Instagram and tag me with @cboggsart. I'd love to see what you do! To see how I turn these frozen watercolors into mixed media paintings, follow me on Instagram or sign up here for email updates when new blog posts are published.  Yes, it's true! I finally took the plunge and set up a YouTube channel for CBoggsArt. Creating classes for Skillshare has been fun, but sometimes I don't really want to design and create an entire class, I just want to share a quick tutorial or technique in fifteen minutes or less. I'm starting out with just a few fun projects for the Christmas holiday season, like this one for creating simple chipboard ornaments: 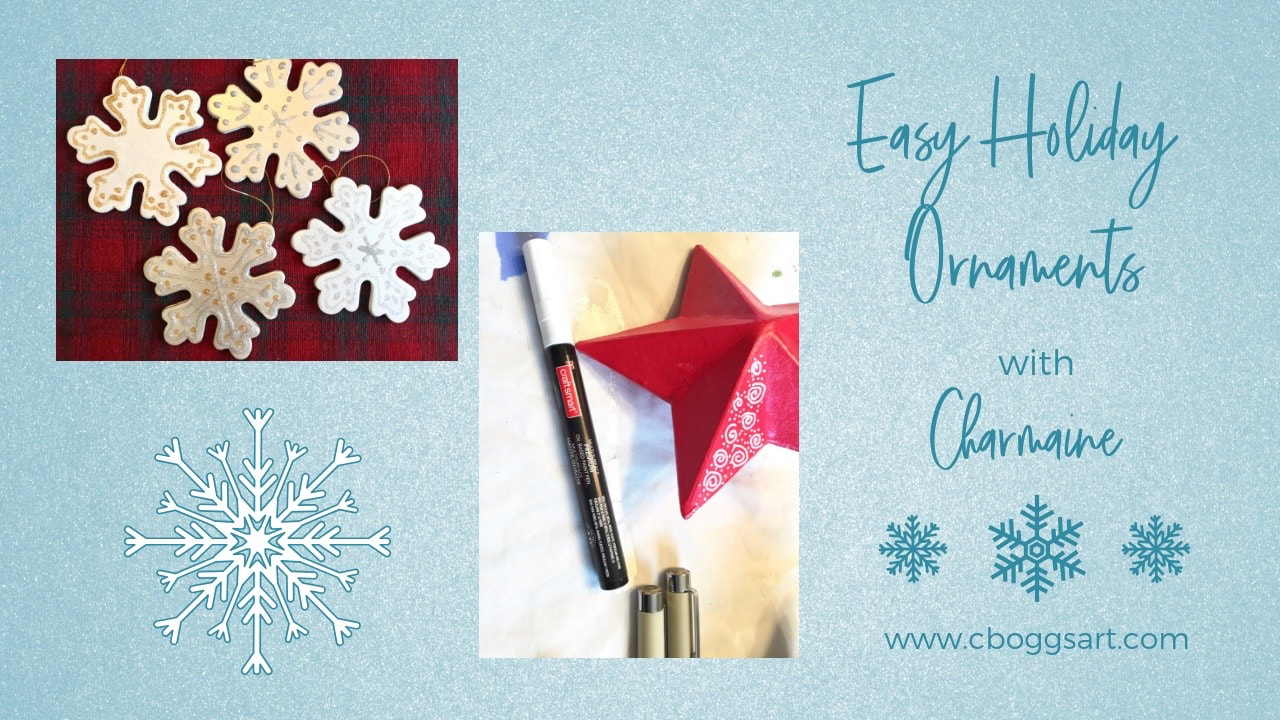 And this one for adding hand-stamped and hand-painted tags to your gifts: 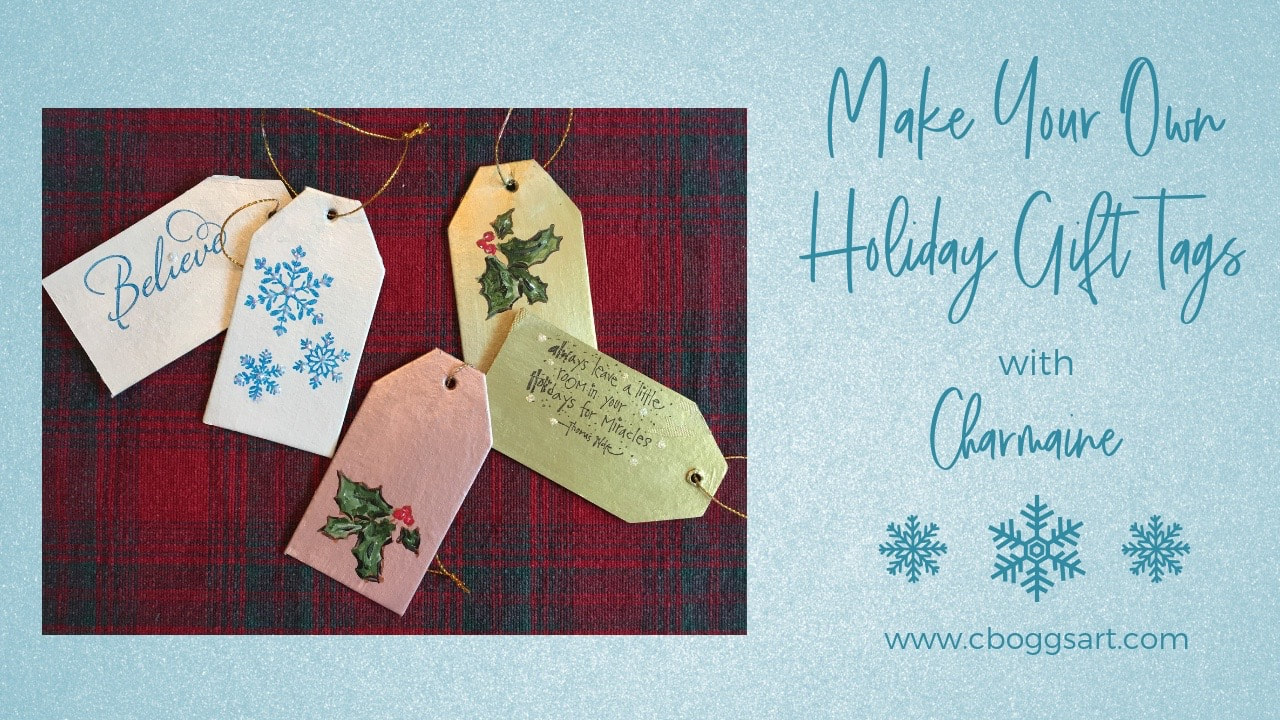 I'll also be publishing art projects for parents and caregivers to do with children using my "grandma" name, Mimi. This first one is an easy Christmas tree project that can be completed in about an hour. It was a favorite with my first grade students when I was teaching art full time! 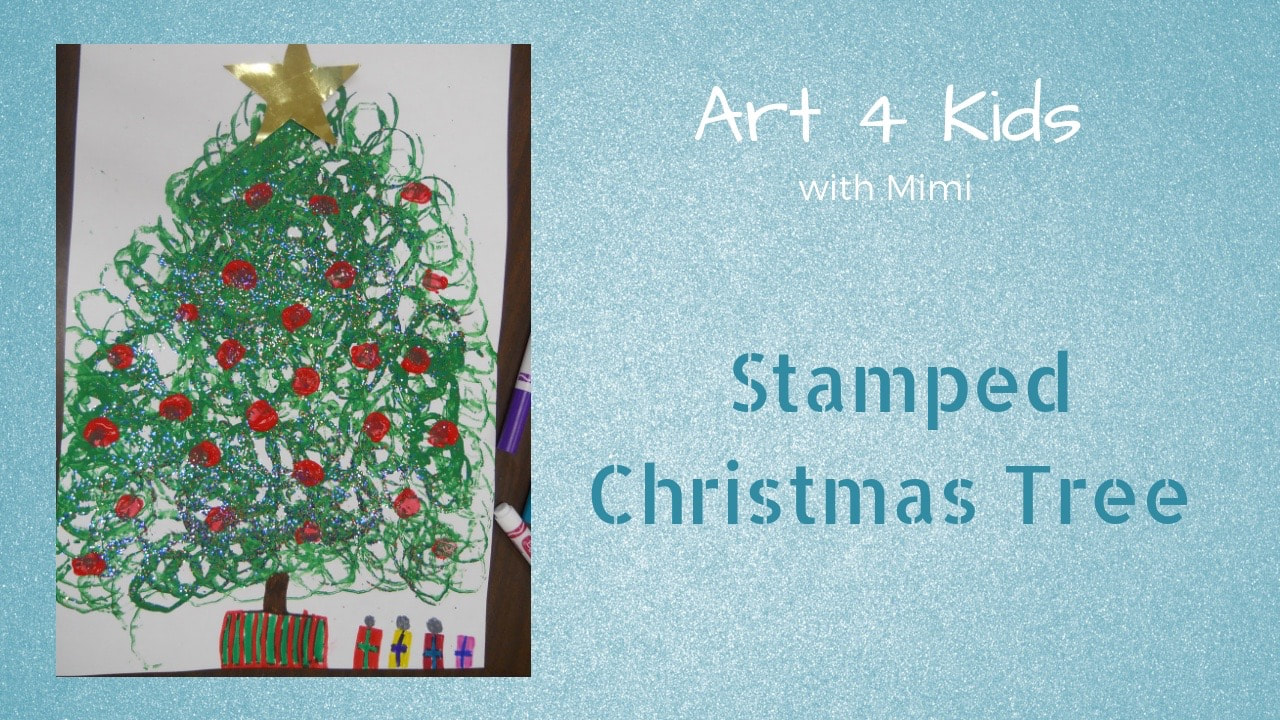 Take a look and if you like what you see, subscribe to my YouTube channel and my email list to get regular updates when new videos are uploaded. This new venture is a work in progress, but I'm looking forward to sharing more art tutorials and DIY project ideas in 2019. Until then, best wishes for a very Merry Christmas and Holiday Season!  
Now that the holiday season is upon us, it's time to start thinking about the children... and not just what they have on their six-foot long "All I Want from Santa" list! Christmas time means longer breaks from the school routine in most places, with an accompanying chorus of "I'm so bored" once the glow of electronic toys and gadgets fades.
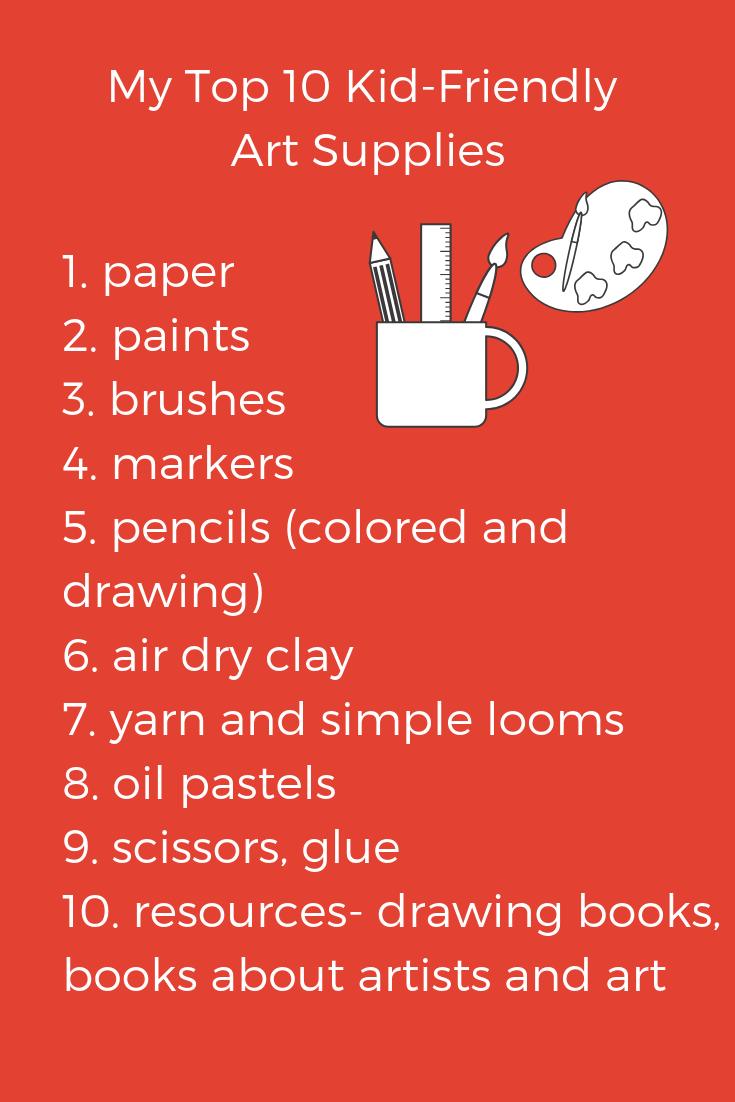
I can't promise an end to the "I'm bored" chant, but having a few basic art supplies on hand can certainly cure some of those post-Christmas blues in your household!
Over the next few weeks, I'll be posting demonstrations to go with the supplies listed below:

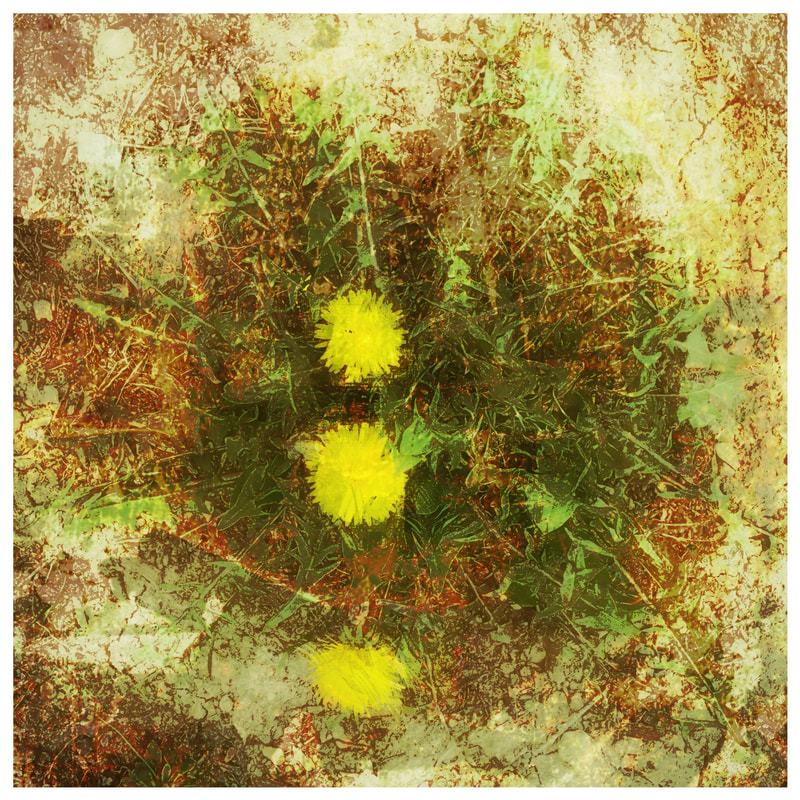 Is it really May... already? According to the bright yellow crop of dandelions making their appearance in my yard, I guess it is! Somehow in the rush of daily living, I lost track of February, March, and April. It's been a busy few months filled with family activities, a little quiet time for reading and reflection, and plenty of creative busy-ness. 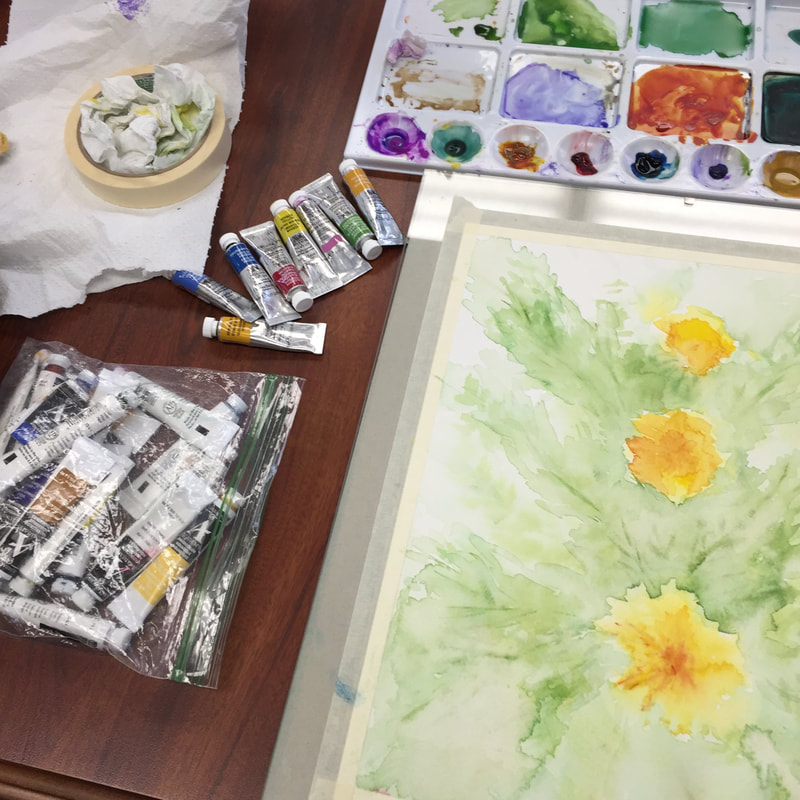 Back in January, I started my journey through 2018 with two goals: spiritual reading and daily creativity. I have to admit that the reading goal took a hit during March, but I've managed the creative journey a little bit better, thanks to a good friend's suggestion that I join her in taking a watercolor painting class through our local community college. Talk about a humbling experience! My watercolor skills have a way to go, but the class was fun, I learned a lot, and I've already signed up for the fall semester. In late January, I learned about a website called Skillshare from some Facebook group friends who were teaching classes on the site. I checked it out, took their classes, and decided to take the February "Teach on Skillshare" challenge just to see if I could do it. Found out that I could ... and I did! I recently published the first two classes in a series I am calling "Printmaking Basics". As a classroom art teacher, I know how much my students loved printmaking, so I'm creating the series to encourage parents to bring this creative activity into their family time at home. The classes are perfect for beginners of any age, five to ninety-five. Supplies are minimal, the mess is worth it, and the results are amazing! 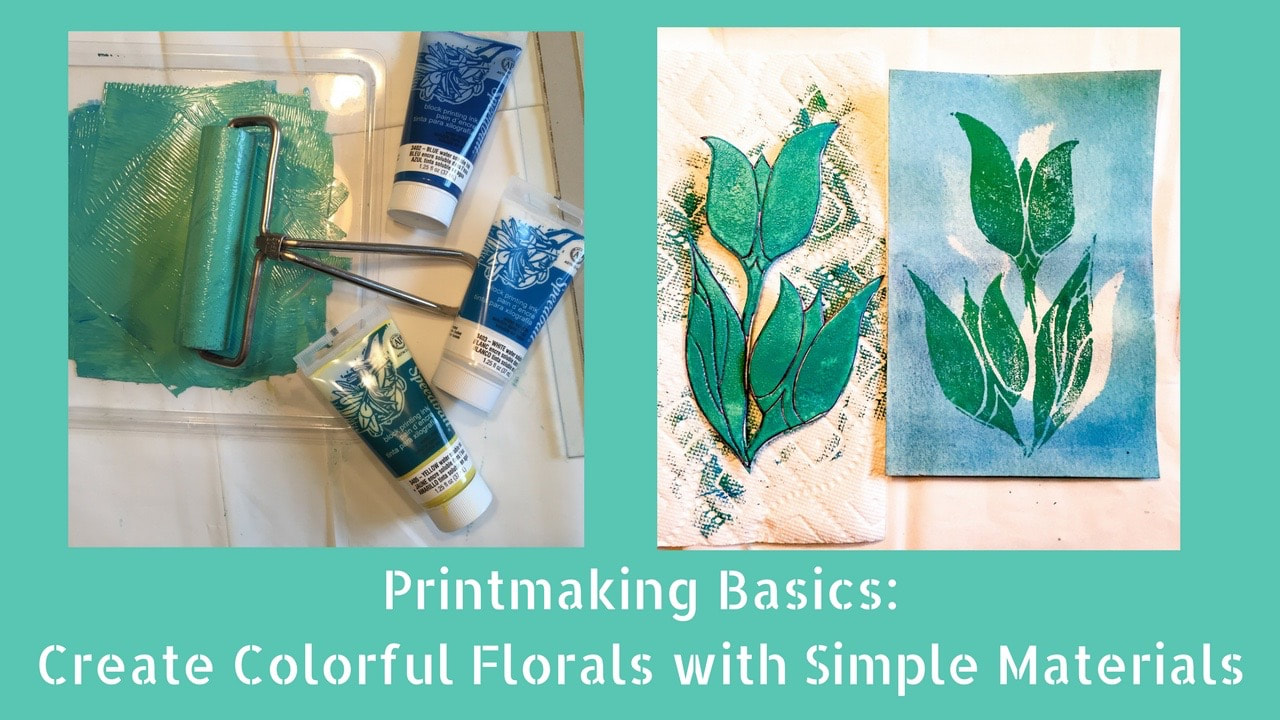 Click here to view this class and create your own colorful floral prints! 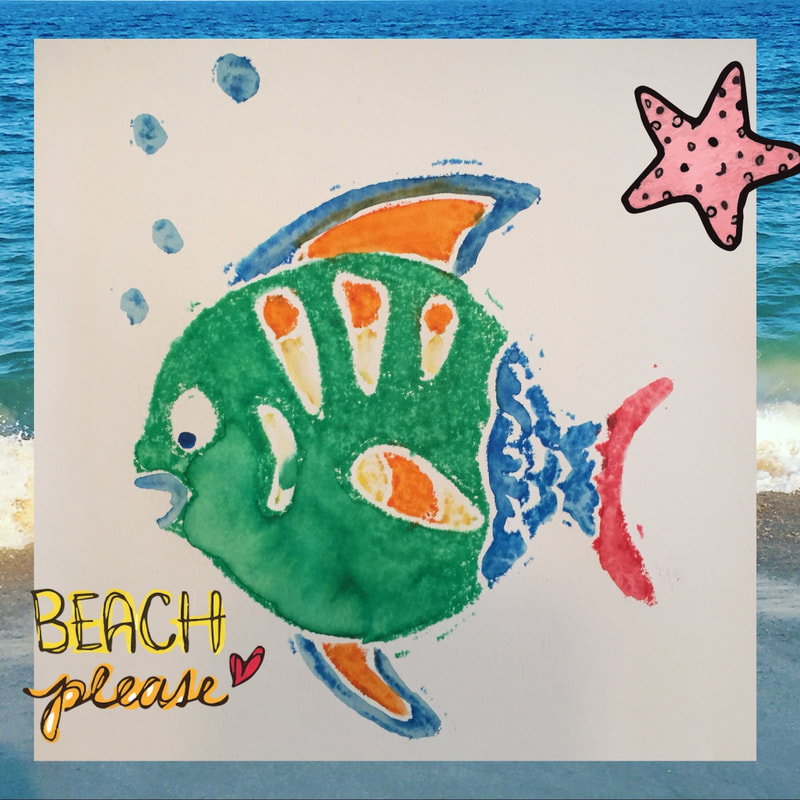 This happy green fish is from Printmaking Basics: Print with Markers. Using water based markers eliminates the potentially messy inks and makes printmaking an easy and fun activity for children as young as five years in age. Click the link and check it out! Now that springtime and warm weather have finally arrived here in Ohio, I'll be spending more time in my favorite outdoor creative spaces, my flower gardens, the local parks, and the outdoor "studio" on my back deck. I'm working on two more classes in the Printmaking Basics series, so take a moment to sign up for my email updates and be one of the first to check them out!  
What do you do with two sports-loving boys when no one in the neighborhood is around for an afternoon baseball game? Not an easy task, but this Artsy Mimi put on her Creativity Crusader cape to give her sweet Boys of Summer two creative afternoons on the back porch! Take a look at our video....
Here's a list of the art supplies we used for our projects. Most of them were purchased at our local Michaels store. Commercial size coffee filters can be found online or at your local office supply store.
If you try any of our projects, post a picture on Instagram using #creativity_creator! I'd love to see what your kids are doing!
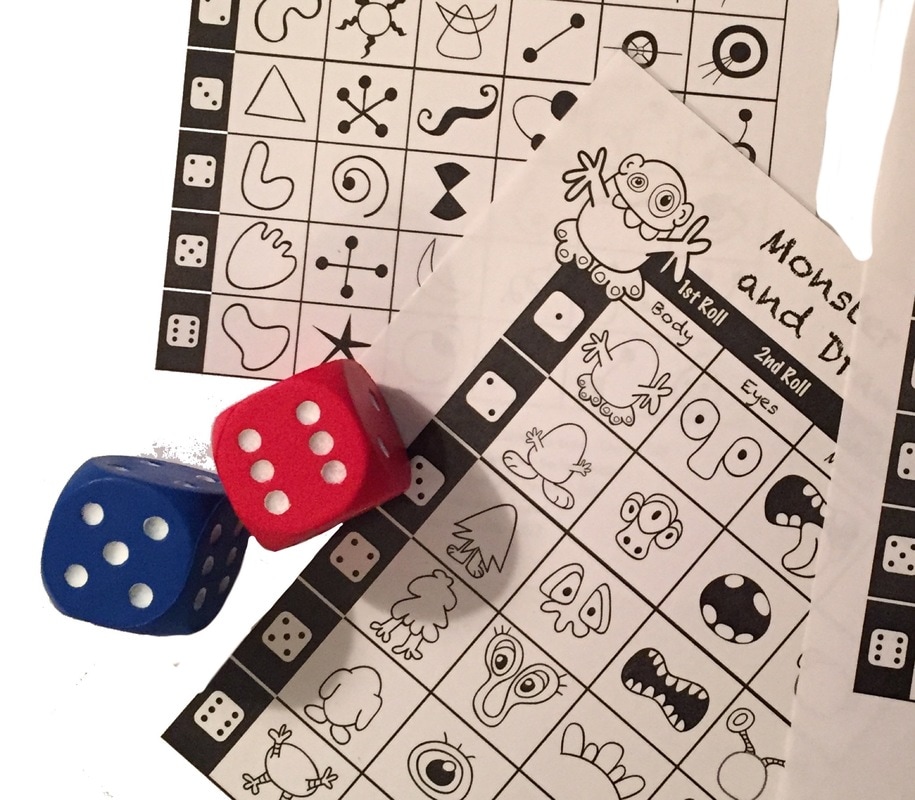
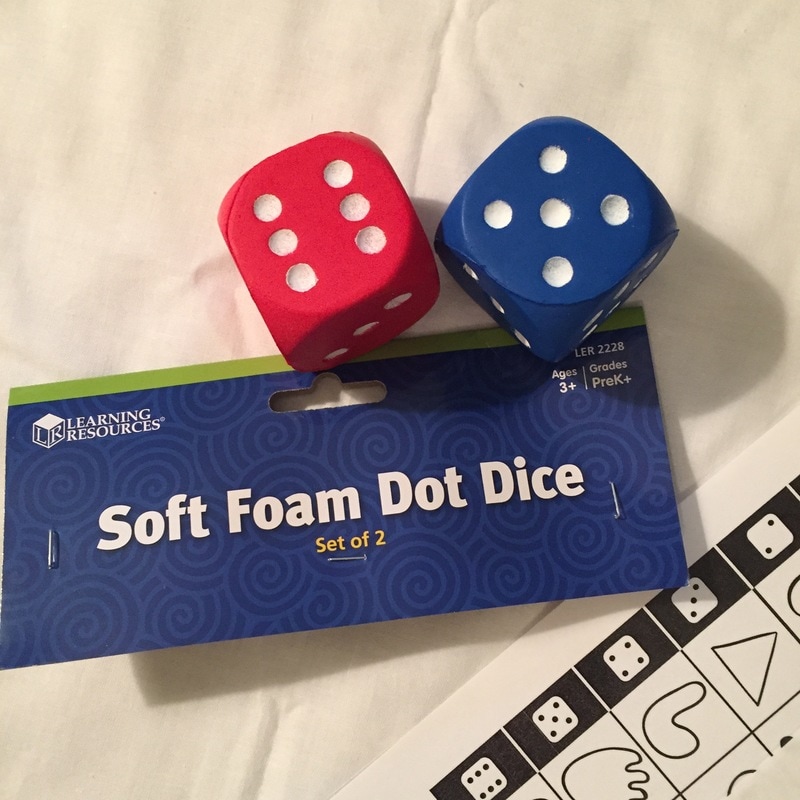
The combination of intermittant showers and storms, along with a schedule of baseball games and family activities, put the skids on my plans to introduce my young artists to the art of tie-dye. After all, this is not an ideal activity even for the back porch! Fortunately, this Mimi always has a backup plan! Here are three easy activities to chase away those rainy day blues with the elementary-age children at your house...1. Roll and Draw Games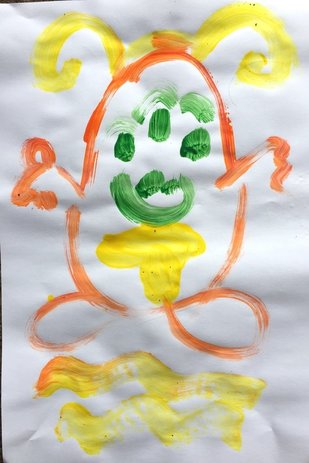 Roll and Draw games were a big hit with grades 1-3 in my elementary art classroom. I kept them in a center for students who finished our art class projects a little faster than others. Each roll of the die adds a new piece to the drawing. Once the basic form is complete, encourage your little artists to add details to the picture in order to make it uniquely their own. Many of my classroom students made entire families of Monsters using the different variations possible with the five different Monster Roll and Draw sheets! This activity is adaptable to any art materials you have on hand: crayons, markers, colored pencils, paints, and even modeling clay. You can download your own set of Roll and Draw games from Expressive Monkey. Mine are laminated since they were used repeatedly by so many children, but that isn't necessary for home use. The large foam dice are great since they don't make so much noise on the floor or table top, but regular dice are fine, too. A piece of felt or a kitchen placemat will muffle the sound equally well. 2. Air Dry ClayWhen I did this activity with my grandsons, age seven and not-quite-five, we used Crayola brand air dry clay. It's a no-mess product that comes in white, which can be painted with tempera colors once it is completely dry. I spread waxed paper on the back porch table to keep the clean up super simple. The only tools we had on hand were toothpicks, some plastic needles (from our weaving project last spring), plastic beads, feathers, and a few twisty ties from the kitchen drawer. Aiden, the older grandson, found a YouTube video demonstration to make his puppy. There are lots of those at a variety of skill levels! After that, he and his little brother used a how-to-draw book from the local library to gather inspiration for their bears and toucans. All in all, a fun way to spend a rainy afternoon. Now we just need a drop in the humidity to allow the clay to dry enough for painting! 3. Glue and Salt Painting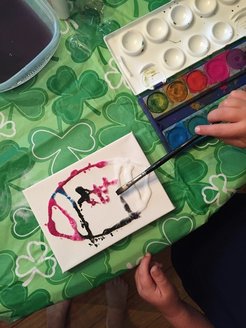 Credit for this activity goes to mommy-blogger Jackie, who published it as Jellyfish Salt Painting. I had never gotten around to trying it out in my art classroom during the school year, so I decided to let my two grandsons, ages 7 and not-quite-five, be my activity testers. Of course, being two sports-minded little artists, our models were baseballs, footballs, and basketballs instead of sea animals! All you need for this activity is some white glue (we used Elmer's), a box of table salt, paints and brushes, and a sturdy cardboard to work on. Jackie recommended liquid watercolors, which we didn't have on hand, so we used regular pan watercolors, which worked just fine. I lucked out and was able to purchase some wrapped canvas at Michael's Crafts at a 70% discount, so we used the 6" squares and the 5x7" rectangles. Using the canvas panels was really nice because the paintings didn't curl up like they do even on heavy cardboard The steps are pretty simple: 1. Sketch the outline on the board or canvas 2. Go over the lines or fill in the space with glue. 3. Sprinkle with the salt, then tap off the excess salt. 4. Tap (don't brush) the paint onto the glue/salt mixture immediately. Don't let it dry. 5. Depending on the amount of glue, the painting may take 24-48 hours to dry completely. Go to Jellyfish Salt Painting for step by step photos and more inspiration. And above all, enjoy some crafty creativity the next time the rainy day blues strike at your house! I'd love to see your crafty creations! Use #creativity_crusader on Instagram to share. 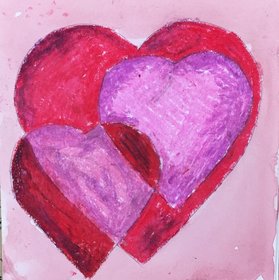 One of my favorite February art lessons with my littlest students in first grade is our "Jim Dine Valentines" project. Dine, one of the premier American artists of the mid-20th century, is still a force in the art world today at the age of 81. Although most known for his images of colorful hearts, Dine produced a much greater variety of artworks in his long career, most notably carefully rendered drawings of common objects such as hammers, pliers, and other tools, colorful paintings of kimonos and the iconic character, Pinocchio, and large sculptured hearts. Although his friendship with Claes Oldenburg and gallery exhibitions with such artists as Roy Lichtenstein and Andy Warhol led to Jim Dine often being classified as a "pop artist", Dine did not consider himself to be a part of the Pop Art Movement. Nonetheless, his work is always a hit with my students, who love creating their own "heart art" using oil pastels and pan tempera paints! And, since I like to work along with my students, I now have my own collection of Jim Dine inspired art to share, along with a few of my favorite "love quotes".
 |